
CentOS 8 虚拟机创建与配置
VMWare创建CentOS虚拟机
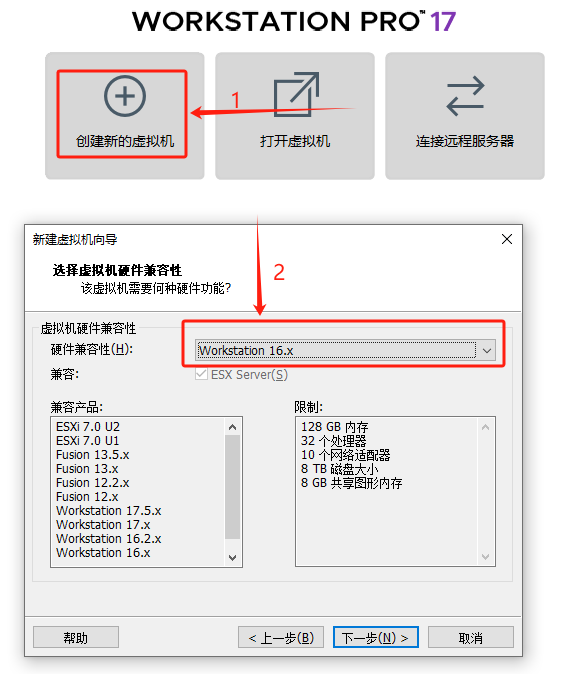
首先创建虚拟机,这里选择Workstation 16.x,也可以选择更低版本15或12。高版本的Workstation可能不适配低版本的Workstation,可以选择低版本兼容其他版本的VMWare。
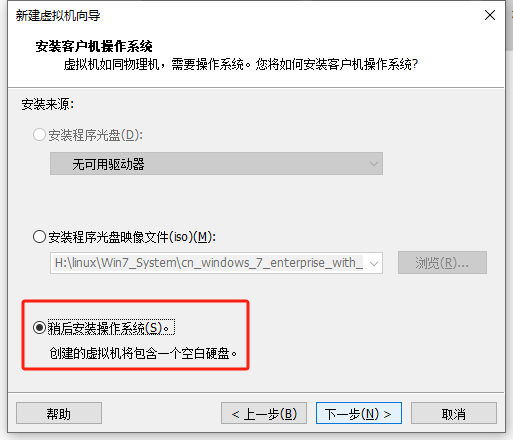
选择稍后安装操作系统
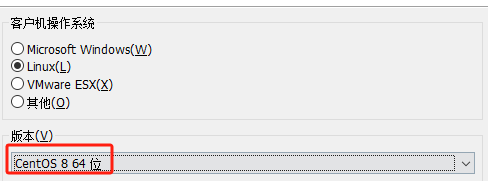
选择CentOS 8 64位
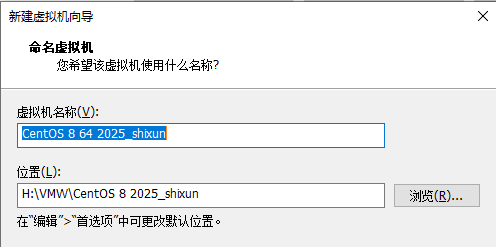
自己填写路径与虚拟机名称(尽量别放在C盘)
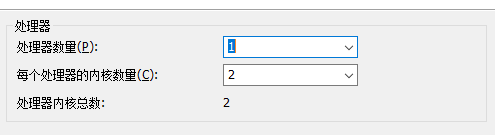
一个处理加上两个内核对于虚拟机来说够用了
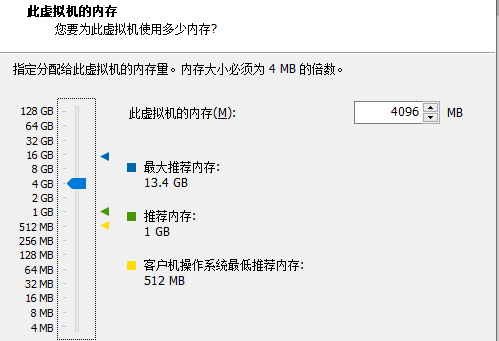
内存设置2G也行,这里设置4G
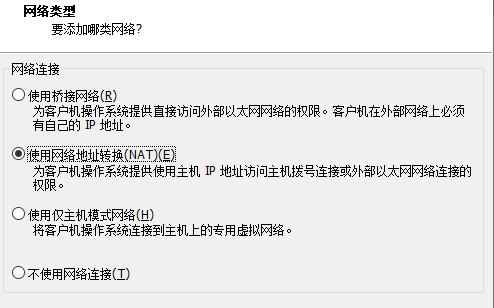
选择NAT模式(可以联网)
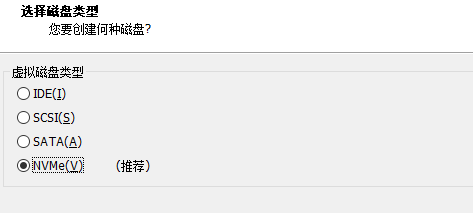
下面两个选择推荐即可
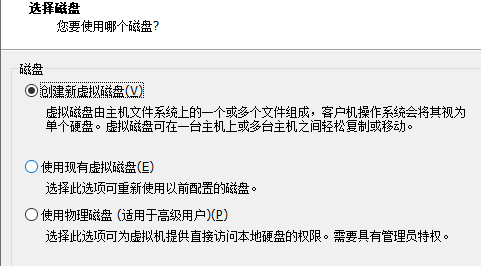
创建新虚拟磁盘
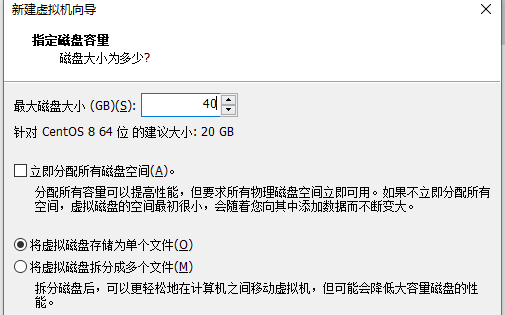
这里将虚拟磁盘存储为单个文件方便移动,分配了40G磁盘大小应对后续实验
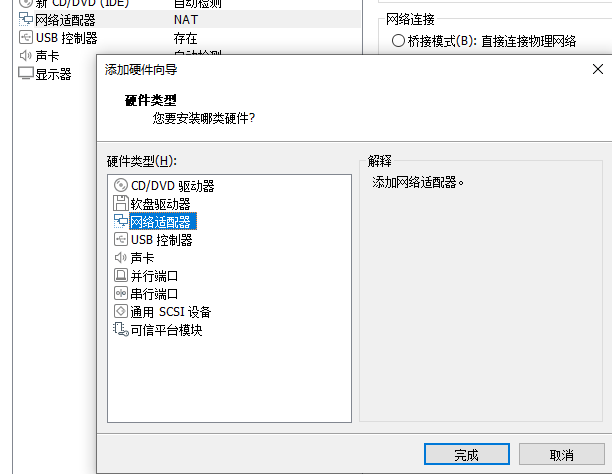
本次实验需要两块网卡,这里再添加一个网络适配器
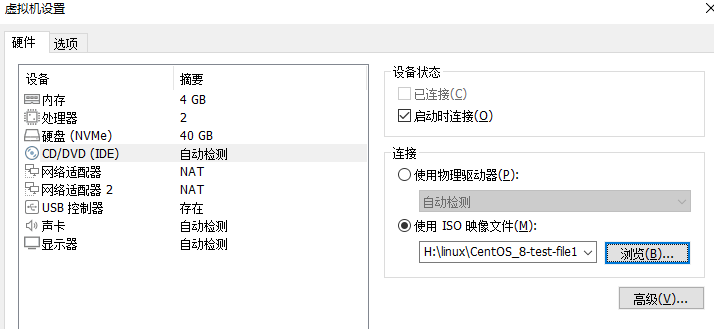
点击完成,最后在虚拟机设置界面选择CentOS的ISO映像即可
至此CentOS 8虚拟机的基础创建完成
CentOS 8初始化配置设置
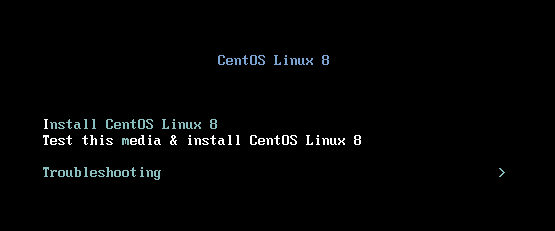
先打开刚刚创建的虚拟机,选择第一个Install CentOS Linux 8
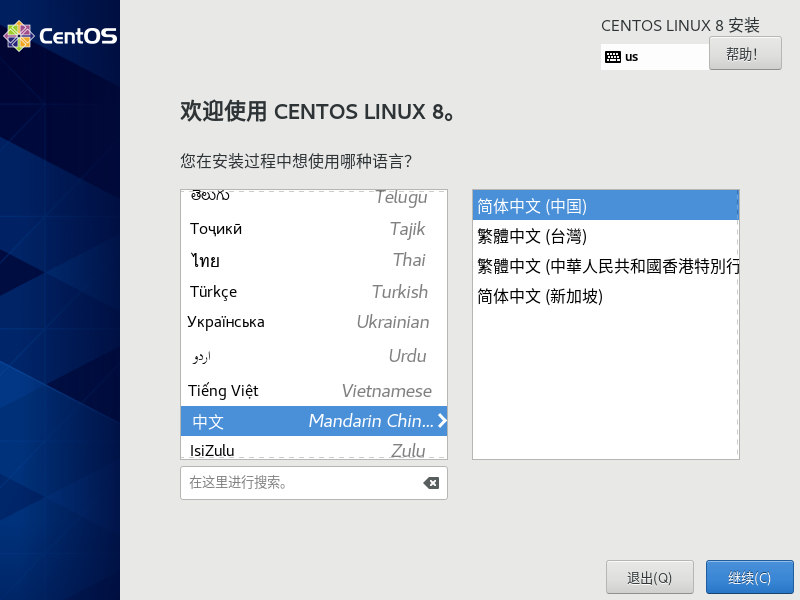
选择简体中文
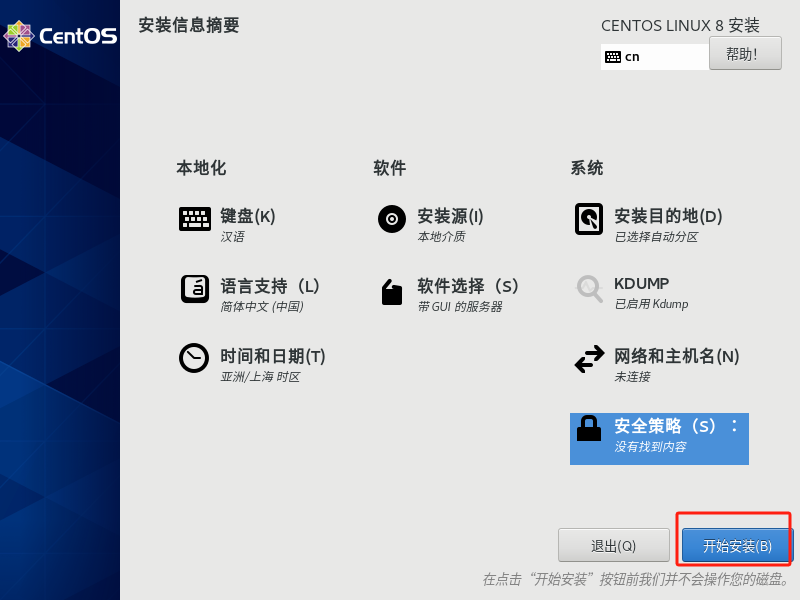
接下来对这四个选项进行操作,选择上海时区
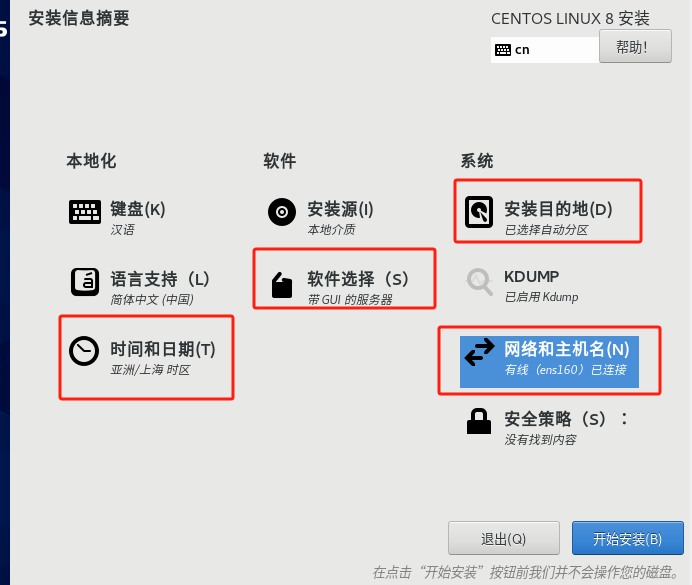
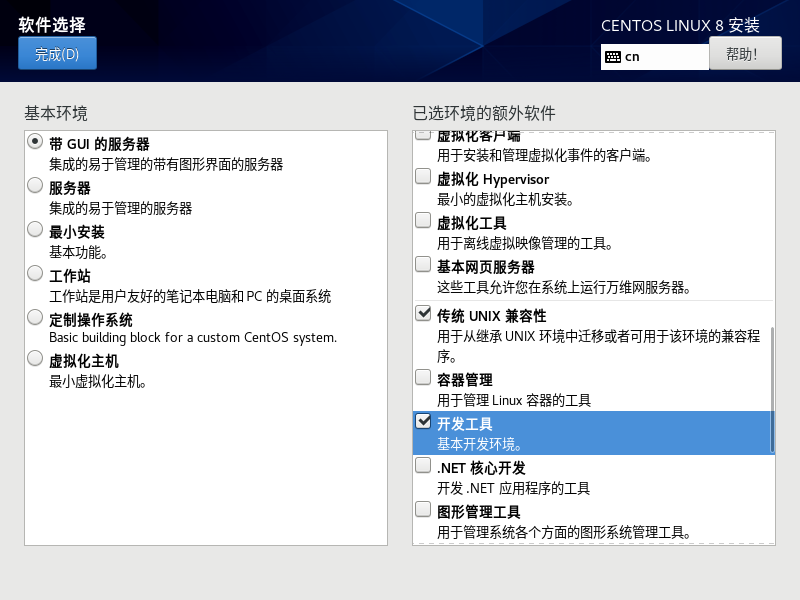
安装环境额外软件[传统UNIX兼容性]和[开发工具]
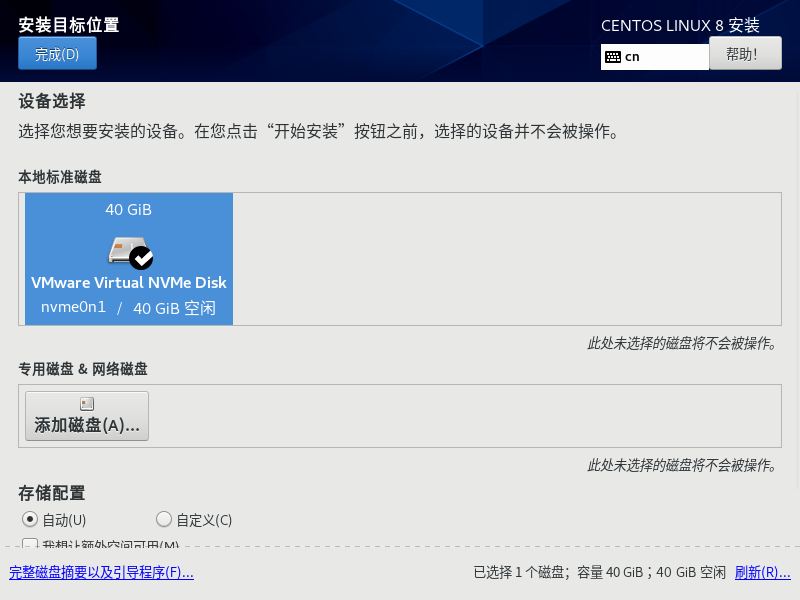
选择本地标准磁盘
启动网卡

然后点击开始安装
自己创建root密码和用户
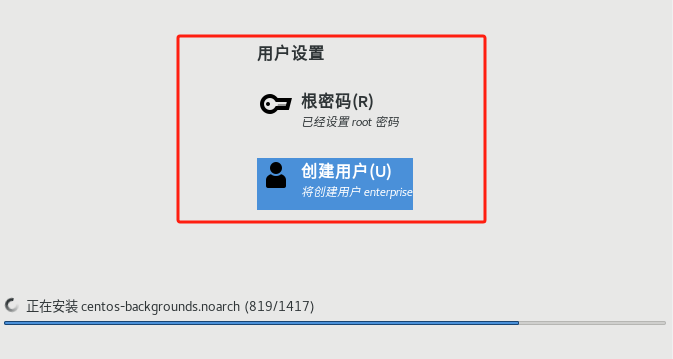
然后静等安装完成
CentOS 8系统基础配置
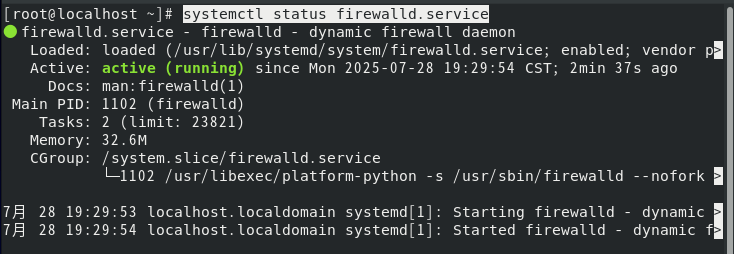
防火墙配置
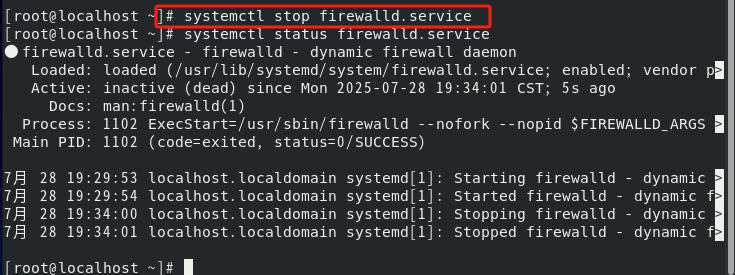
首先查看防火墙状态
systemctl status firewalld.service |
先临时关闭防火墙
systemctl stop firewalld.service |
关闭防火墙后设置防火墙永久关闭
systemctl disable firewalld.service |

设置SELinux
vim /etc/selinux/config |
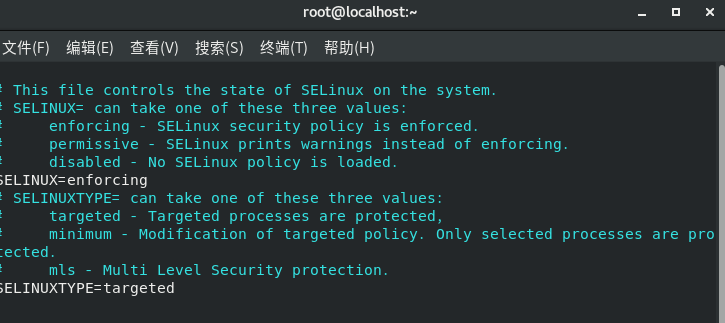
设置SELINUX=enforcing为=>SELINUX=permissive,将规则由严格改为标准
关闭虚拟网卡
systemctl disable libvirtd.service #关闭虚拟网卡 |

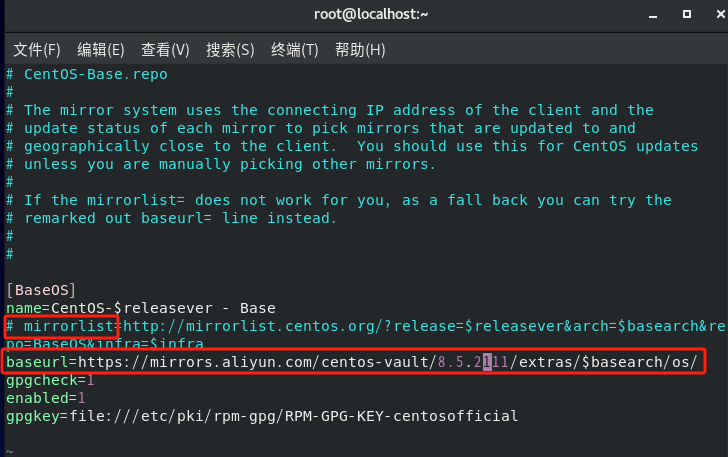
换源
修改镜像源,将mirrorlist那一段代码使用#注释,取消baseurl代码的注释,将后面的网址粘贴为https://mirrors.aliyun.com/centos-vault/8.5.2111/extras/$basearch/os/
vim /etc/yum.repos.d/CentOS-Base.repo |
修改完成后保存退出,输入
systemctl poweroff #关闭计算机 |
在关机状态下为虚拟机拍摄快照